
In AR/VR Development
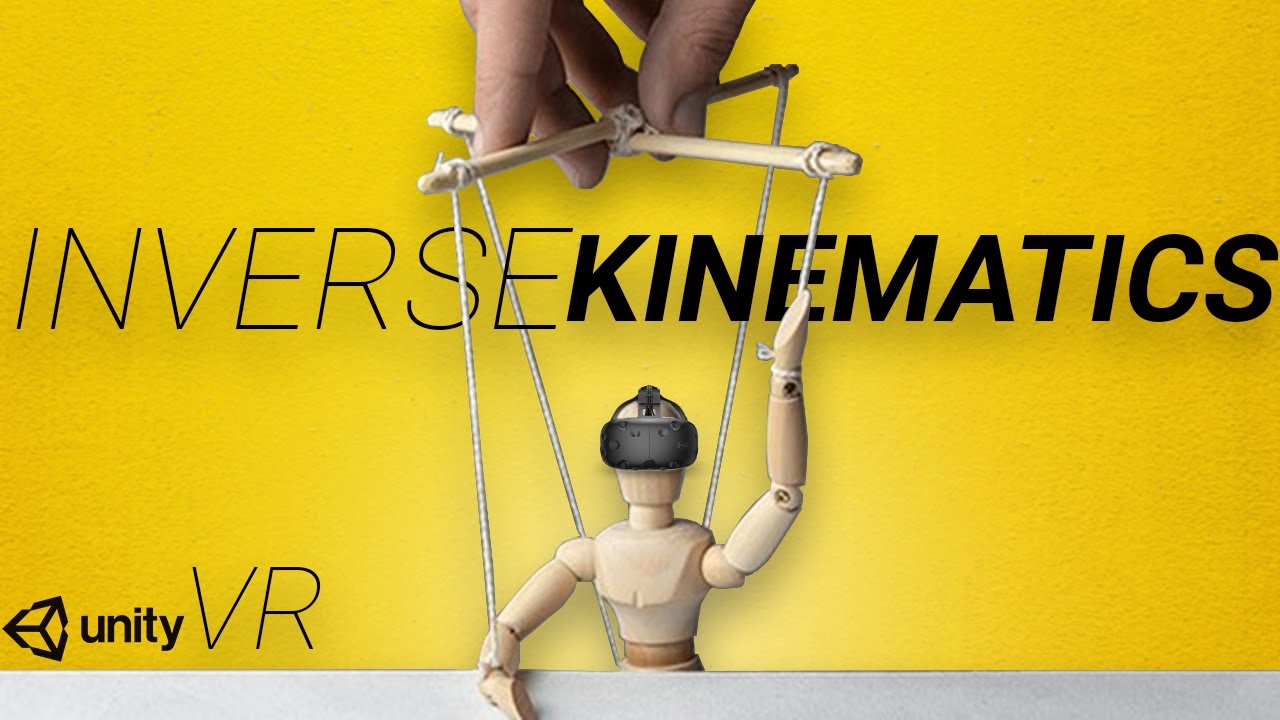
Inverse Kinematics in Virtual Reality | VR Upper Body IK Unity Tutorial - read the full article about VR tutorial, AR/VR Development and Augmented & Virtual Reality Solutions from Justin P Barnett - VR Game Dev on Qualified.One

Youtube Blogger
having floating hands really freaked some people out now there are many games that get away with it pretty well but if youre like me im the kind of person who likes to be as realistic as possible so lets add some arms and a body to our floating hands all right just like last video im going to copy and paste the realistic physics hands tutorial project and rename that to vr ik upper body and then open up unity hub unity just released a 20 20.3 2020.3.1 long-term support version so make sure you go and upgrade to that long-term support means its stable and theyre going to support this obviously for a while so this is a good version to update to all right now that this is installed im going to go to projects and add that project that we copied and pasted select folder and then were going to upgrade it to the new version and confirm and theres a few things that we need to do to just upgrade to the newest version so go into edit project settings go to xr plugin management and click on the exclamation point fix all to lock the input thatll fix that and then lets go to window package manager and then make sure youre in unity registry and then were gonna scroll down and anything that has this little up arrow next to it needs to be updated and xr interaction toolkit is actually to a 1.0 version so thatll be out of preview very soon its technically at a preview now but it still has that 3.3 tag at the moment once you update all of those we should be good and set up for the new version so lets go set up our scene go into the sample scene that we set up from the previous project youre gonna have that grabable cube and table and im just gonna delete both of these and the gizmos im gonna make the 3d icons down to very small this player that we set up last time were actually not going to use so im going to uncheck it to disable it but we are going to kind of replicate how the components are inside of here so thats why were leaving it in the project instead of just removing it completely were going to come back and use it as a reference and then lets bring our new character in so im gonna go to package manager and my assets and ive already downloaded a speedball character asset its free from the asset store ill put a link down in the description so were gonna import this guy and of course any humanoid character will work if youre following along with me just uh make sure theyre you know human-like so were gonna go in here grab that drag it in reset it to the center and then im just gonna rename him to character if we look inside of this package youll see we have a body which is just the mesh the visual component so if we unchecked that you cant see anything and then we have the uh this bip zero zero one game object and if we hold down alt and press the arrow itll open up all the trees underneath and well see that these are all the bones for this character and were going to be working with the hands the head and then eventually the feet when we get to that point but trying to select the right bone from the tree and having to like go down and open each tree is kind of annoying and difficult so were going to import an animation rigging package from the package manager im gonna go to unity registry and then look for animation rigging and this just recently got a 1.0 version as well unity is finally getting to a place where things are more stable and its really exciting for me once thats installed youll see this tab up here at the top and it gives us a few options so if we select the character and then go up to animation rigging and click bone render setup now we have this like bone skeleton that we can see from the outside of the character so if we wanted to select the forearm now we can just click on it and it selects the correct bone for us and we dont have to navigate through this whole set up here which is nice and from here we can you know like you normally would you can move objects and reposition the characters hands and whatnot this is like how you would do animations and all that kind of stuff you would keyframe each one and do animations and whatnot but we want to do inverse kinematics and then we want to match the target of the inverse kinematics up to the controllers and that way anywhere the controller goes thats where we want the hand to go and wherever the hand is thats like you know the angle that the forearm is supposed to be to connect to the shoulder so we have this kind of inverse relationship between the hand and all the bones connecting to uh that hand so lets collapse this and with the character still selected were going to go up to animation rigging again and click rig setup and this will create a rig for us and underneath this rig were going to create a left hand inverse kinematic a right hand inverse kinematic and a head inverse kinematic constraint so right click and create an empty game object and im going to name this one ik and right and then lets add a component to this and this is going to be a two bone ik constraint component and now the tip needs to be the hand so im gonna lock the inspector and then click on the right hand and thatll select it for us in the hierarchy so now we can just click and drag it over to the tip and we could drag over the forearm drag over the upper arm create a target create a hint go through this whole process or we could just right click on the top here and click on auto setup from tip transform and that will automatically go through and add the connecting bones and then it also creates a target and a hint for us underneath this game object and all we have to do is line up the target and the hint with where we want them to be so click on the target and then hold down shift click on the hand and then animation rigging up here at the top gives us this cool button where we can just click align transform and itll reposition that for us and we can do the same thing for the hint hold down shift click on the right forearm animation rigging align transform and in the hint we actually want to be a little behind the elbow because the hint is telling unity where the elbow should be pointing so make sure youre just selecting hint and then were going to go back behind and drag it back a little bit this will help if the player rotates their hand your elbow you know naturally repositions based on the rotation and based on the distance from your body and this will help with orienting the elbow in the correct way and now were going to do the same thing real quick for the left hand so right click create a new game object ik and left and unlock the inspector and then relock it to bone ik constraint lets grab the left hand drag that over to the tip right click auto setup from tip transform and then we can click on the target hold shift click on the left hand animation rigging align transform click on the hint hold shift click on the left forearm animation rigging align transform and then make sure just hint is selected and we can pull this back a little bit lets go ahead and test this before we do im going to uncheck the xr rig and uncheck the xr interactor make sure you save because at this point when i run it ive had some issues with it crashing and im not 100 sure why yet so just make sure youre saving frequently and now if we go back to the inspector grab the target and move it around our hand should move nice and youll notice that as i get further away from the hand it doesnt stretch to meet it just kind of points in that direction which is good now lets set up the head so still inside of rig right click create a new empty game object im gonna call this one ik head and instead of a two bone constraint inside of here were gonna have a multi-parent constraint the constrained object is going to be the head so lets lock the inspector click on the head thatll select it for us over there and then were gonna make a target just like the uh previous ones ik target and just like the previous ones were going to select the target hold down shift select the head and then animation rigging align transform and then lets drag the target over here into source object and this is where things get a little interesting this is where we add in the physicalized hands along with the character so the way this is going to work is were going to have the mesh hand that is visualized and that is going to be tracking the target and then the target is going to be the physicalized bonus so the targets going to have the rigid body and all the colliders and then the target is going to be following the controller using physics so we have almost like a three-tiered following approach so we have the mesh hand that you can see and then we have the physicalized hand which is the target and then we have the actual controller which is the actual position of the players hand and so all of those are going to be working together to create a realistic visual and physical effect so lets go into scripts and take the hand script and im going to drag the hand script onto each hand target and were going to go through and mess with these values in here and delete the animator because in a video in the not too distant future im going to do a procedural grip and thats going to override the last video where we did the animator stuff so this procedural grip will be able to grab any object and itll stop the fingers whenever it hits the surface still working on that but were just gonna disable the animator for now because it doesnt really apply to uh this particular video so lets open up the hand script im gonna do two things in here im gonna go through and comment out all of the animator stuff and then were going to fix the hand tracking a little bit because in the last video i was adding the offset in local space instead of world space and that was kind of creating a weird pivot effect where your hand wouldnt pivot on the correct point so were going to go through and fix that first lets comment out all of the animator stuff so comment out the require animator component im going to highlight this chunk of animation variables press ctrl k and c and thatll comment out the whole block and then the same thing for the start method and then the update method and then each one of the methods below there we go and then here on line 59 this is where we need to set it to a world position and in order to do that were going to do follow target dot transform point and that will transform from a local space to world space and then were going to put the position offset inside of that method and that should fix the rotation pivot point problem that some of yall have been experiencing make sure to save that were gonna go into hand controller now and youll see down here in the update method we no longer have a set grip or set trigger method so im gonna comment both of those out as well at this point realistically you could just delete the hand controller method were not using it at the moment make sure to save both of those im gonna go back into unity were gonna create a new c sharp script this ones gonna be called a head and head is gonna be attached to the ik head target and lets open this guy up similar to the hand controllers in this controller were going to update the head to follow the head mounted display that the player has but we dont want physics to be involved in this were just going to have it instantly update so were gonna do that and then were also going to update the whole body rotation based off of the head in this class as well were gonna need a few serialized field variables two transforms a root object this is going to be the character and then we need a follow object and this is going to be the head mounted display and i can declare both variables without having to write the line twice by just doing comma the next variable as long as theyre the same type and then we do the same thing for serialized field private vector three were gonna have a position offset and a rotation offset there we go and then were gonna need one private variable this is gonna be a private vector three and this is gonna be a head body offset and the head body offset can be set inside of the start method and thats just going to be the difference from the root object position and the follow object position so in this case i think the actual you know position of the character is in the center and then the follow object position is going to be obviously wherever the head mounted display is and so this just accounts for that difference and will automatically set it for us and then were going to change this update to a late update and first were going to set up the root object position so were going to set the body and thats going to be equal to the transform position plus the head body offset and then were going to do root object dot forward is going to be equal to a vector 3 dot project on plane and then were going to use the follow object dot up and a vector 3 dot up and thats going to be normalized so this accounts for the offset between the head mounted display and the body and will essentially set us to the correct height and then this guy will set the correct rotation for whatever the head is pointing thats also where the body is going to be pointing and now we can set the offsets for the camera so lets do transform position its going to be equal to follow object dot transform point just like we did over in the hand class and were going to put the position offset in here and then we do the rotation offset transform rotation is going to be equal to follow object dot rotation multiplied by a quaternion euler rotation offset make sure to save and lets go back to unity and set up all these values so inside the head target the root object is going to be the character the follow object is going to be the xr rig which we can re-enable and the main camera was going to be the follow object and then if we go up to the hand targets we can set the follow objects for those so the left hand target follow object is going to be the left hand controller and the right hand target follow object is going to be the right hand controller make sure to save save save save and now that the animator has been disabled we can also remove those from the hand targets and now all thats left is to run it and lets set the offsets oh and we forgot to add the uh you know physicalized hand part so go into your right hand target and were going to add a rigid body make sure to set to interpolate and continuous and dont use gravity same thing for the left hand and then underneath each of these we can create a new game object and this is going to be the collider lets add a box collider here so we can resize and reposition that and you can add as complex colliders as you would like and im going to duplicate this and drop it into the left hand as well reset the transform and then reposition that so the head body offset auto setting is giving me a little bit of trouble so were gonna go back into head so instead of having this start method here im just gonna delete the whole start method and gonna put the head body offset in with the other serialized vector threes and rename it without the underscore and now we can manually set it and uh we wont have any issues there you have it now obviously the legs look kind of weird just floating around being stiff and straight so if you want to just get rid of those you can find the legs inside of the bone structure and scale those down to zero so that they disappear and youre just having a torso and arms and hands in an upcoming video were going to work on procedurally walking and having those legs animate but for now youre just a floating body i want to give a super special shout out to our newest vip patreon scott thanks so much for joining us and i really appreciate your support and to you eva jane tim and austin thank you so much for all of your support and im thinking instead of a live stream this month were gonna be doing a private zoom call on this coming sunday so be on the lookout on patreon for that the time details and the link for that will all be up there and if youre not part of the vip tier and want to get in on a private zoom call with me this sunday be sure to sign up on patreon or if you just want the source project and all the code that goes with it you can support me on patreon and get that as well and free of charge as usual im always in the comments so if you ever run into bugs or issues or improvements or thoughts that you have be sure to write a comment and i will respond i respond to every single one i love hearing from you guys and honestly all of you thanks so much for the likes the comments the support the amount that this channel has grown in the last month has been absolutely ridiculous um im so appreciative of all of you and i will see you in the next video you
Justin P Barnett - VR Game Dev: Inverse Kinematics in Virtual Reality | VR Upper Body IK Unity Tutorial - AR/VR Development