
In IoT Development
How to build an IOT Haunted Doll with Particle Photon and IFTTT - read the full article about IoT Development, IoT Development and Internet of Things technologies from Particle on Qualified.One

Youtube Blogger
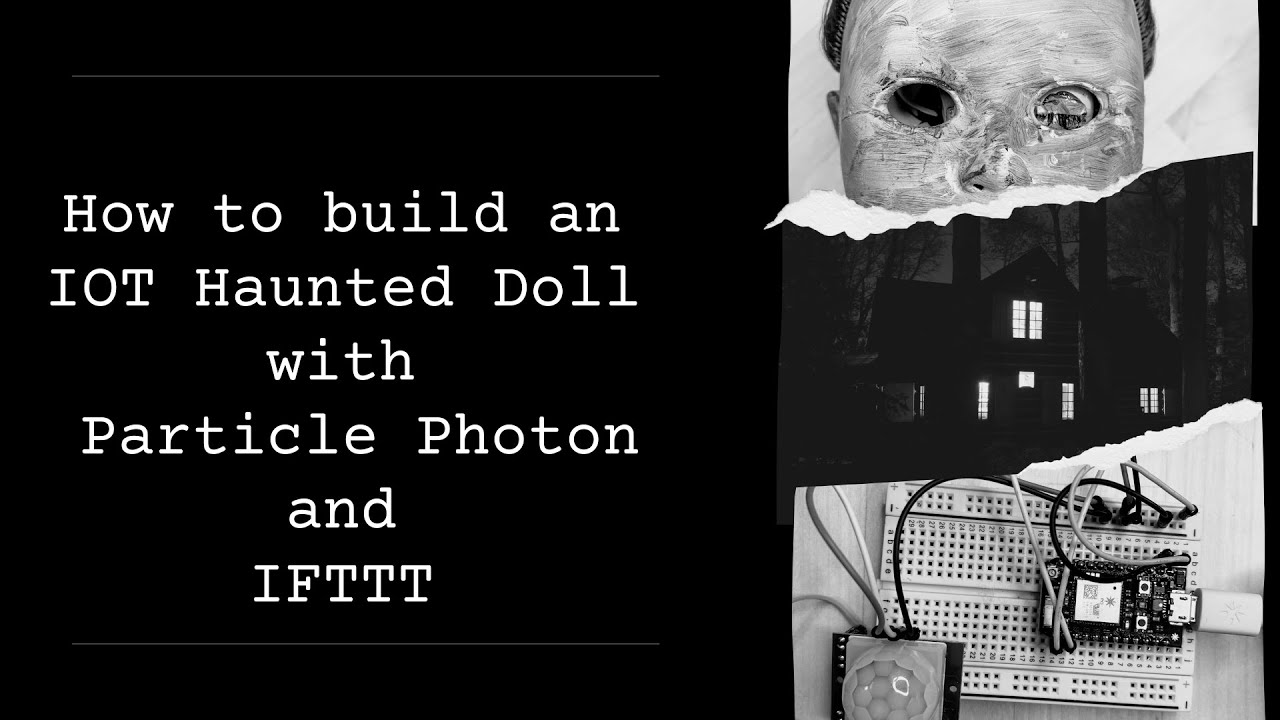
Intro Hi, I’m Colleen Lavin from Particle.
I recently watched the movie Chucky and thought it looked like fun so today we’re going to use a Particle Photon and if this then that to make a haunted doll.
Our doll will probably not come to life and murder anyone but it will make the lights blink and causes monsters to jump out and scare you.
The goal of this project is to make a haunted doll that scares people by making lamps flicker, changing the color of LED strip lights, and causing a monster to poke its head out from a hiding place.
To make this happen, we’re going to build a circuit that uses a PIR sensor to detect motion in a room.
When the sensor detects someone moving around, it will use a service called if this then that to control different smart lights.
It will also trigger movement from a mask that we’ve attached to a servo motor.
This project is pretty straightforward on the programming side but the construction takes a bit of time because it involves painting and some optional soldering.
I suggest setting aside an afternoon or evening for it.
A dark and stormy night would also work.
Before starting, make sure you have your photon set up.
If you don’t have your board set up, please go to setup.particle.io and follow the steps there before continuing with this video.
For this project you will need a small breadboard, a PIR sensor, a servo or micro servo motor, one rgb led light strip, as many hue lights as you want, nine male to male wires, three male to female wires, a battery pack or other power supply, and a Particle Photon.The code will work on all Particle devices but the wiring will be a bit different if you use a board other than the Photon.
Plus the Photon is our smallest board which makes it the easiest one to stuff inside the doll.
On the non-technical side you’ll need a vinyl or plastic doll with a removable head, black and white acrylic paint,fake blood, black or navy fabric dye, a ruler or pair of chopsticks, a halloween mask, and a block of styrofoam roughly the same size as the Halloween mask.
You will also need a soldering iron, a bucket, and some paint brushes.
Setup Let’s get building! Connect your photon to a power source.
I’m using a battery pack.
You could also connect it via usb for power but that makes it less portable.
Attach your photon to the breadboard.
Wire from the VIN pin to the positive section on the side of your breadboard and theGND/ground pin to the negative side.
Wire the Sensor Once you have your board set up, attach a PIR sensor.
PIR, or Passive Infra Red, sensors can detect the movement of things that emit heat, like warm bodies.
This is good for our purposes because it can sense a child passing by but won’t be triggered when a ghost zooms in front of it.
The PIR sensor has three pins, GND, OUT , and 5V.
Connect the ground pin to the negative side of your breadboard, connect out to D1 , and connect 5v to the positive side of your breadboard Now the PIR Sensor will be able to transmit signals to the D1 pin.
But for the input to be read, we have to program it first.
Program the Sensor I like to use Particle’s VS Code extension, Workbench, for programming.
If you don’t already have it you can download it at particle.io/workbench/.
Once you have Workbench set up, create a new project.
I named this one haunted-doll.
Go into the source folder and open haunted-doll.ino.
We need our sensor code to do two main things: detect if the input to the pin is high or low voltage.
If the input is high then motion has been detected.
If it’s low then no warm body has moved.
At the top of your program declare the sensor and assign it a pin.
Mine is called “motionSensor” and it is assigned to pin D1.Next create a variable called sensorState and set it to low since we want to start it off with no motion detected.
Make another variable called sensorValue that you can set to zero.
Lastly create a variable called led and declare it at pin D7.
This is the photon’s onboard light.
In the setup loop, tell our code that the sensor is an input by writing pinMode(motionSensor, INPUT); Now the code will be looking to the motionSensor pin for input.
User pinMode(led, OUTPUT) to declare the onboard light as an output so we can later use it to test if our code is working as expected.
Inside our loop function, set the value of sensor to be equal to the read of the sensor with sensorValue = digitalRead(motionSensor); digital write the led to low so it starts off with the light off.
Then create an if else statement.
If the sensor value is high that means its detected motion.
Let’s make it do something.
First let’s test to make sure that the sensor is working.
Inside the if statement digitalWrite(led, HIGH).
Then have it delay for 2000 milliseconds.
Then digitalWrite(led, LOW);.
Inside the else statement digitalWrite(led, LOW);.
Write another if statement inside the first.
to check if the sensor state matches the sensor value.
If it doesn’t, it will be updated here.
Then do the same within the else statement.
Compile and flash your code.
Wave your hand in front of the sensor.
If the sensor senses movement the blue light on your photon should turn on for two seconds.
This only works if you have a warm body so if it doesn’t work you may be a vampire.
Or your wiring is off.
Check that first before avoiding all forms of garlic.
Once you’ve confirmed that the sensor is working, we’re going to call the particle publish function.
Particle.publish() is a cloud function that allows you to push an event to the Particle Cloud.
This means that any hook or application that is registered to listen to the event will be notified when it is called.
Inside the if statement we’re going to call the Particle publish function three times.
Our publish functions will take two strings.
The first one is the event name and the second one is the event contents.
Our first instance of Particle Publish will contain the strings “hue” and “blink”.
This will eventually make the lamps with our hue lights blink.
Our second instance will contain the strings “led” and “red”.
This will eventually cue our led strip to change to red, the most sinister of all the led colors.
After this publish event, have the program keep the lights red for three seconds with delay(3000); Then call Particle publish for the last time and give it the strings “led” and “purple”.
We’ll be using this to change the led lights back to purple, in tribute to Prince and because I think purple is a creepy color for a haunted house.
Compile and flash your code.
Connect to IFTTT Next we’re going to connect our particle device to a service called if this then that which will allow us to control smart devices through the cloud without having to wire them to our photon.
Go to ifttt.com and create an account.
Once you’re logged in, click on the “Create” button in the top right corner.
Select the “Add” button next to the “If this option” Search services for “Particle” You’ll have to log into your particle account and grant permissions.
I’ve already connected my account.
Select the “new event published” trigger.
Type in “hue light” for the event name and “blink” for the contents.
Then make sure the device name that the trigger is watching is the correct device.
I have a few different devices and have missed this step before.
Now press the create trigger button.
You have set up the if portion.
Now click the “Add” button next to the phrase “Then that”.
Search the services for the smart light provider that you’re using.
I used zigbee lights connected to my hue hub for lamp lights and govee LED strip lights for the LEDs around my doll.
If you use the govee lights make sure to use the wifi version of the strip lights and not the bluetooth one.
It doesn not work with the bluetooth version and I found out the hard way.
You’ll need a pro ifttt account to use govee so feel free to use hue lights only if you don’t have a pro account.
Select the action that looks most interesting to you.
I went with the blink option, since flickering lights always creep me out in scary movies.
Select the name you’ve given your lights and press “create action”.
Then review your applet and press the “finish” button to set it up.
Test it out to make sure it’s working.
There may be a bit of lag for new applets, but you can trigger the app to run by pressing the “check now” button to speed things up.
Repeat this process with your other publish functions and set of lights, selecting govee instead of hue.
Feel free to experiment with the options available to you.
If you see any things that interest you create an applet for them and have them be triggered by motion sensors.
You can even publish an applet that makes ifttt send you an email whenever motion is detected.
What’s scarier than more emails? Personally, that’s my nightmare! Wire the Motor A haunted doll that makes the lights change is scary but not scary enough.
You know what’s really scary? MONSTERS ARE SCARY.
Monsters that jump out at you from a hidden spot are even scarier.
I don’t know any real monsters so we’ll use a servo motor to make a monster appear and retreat.
There are different types of servo motors.
I’m using a simple, cheap, servo that has a rotational range of 180°.
Servos are highly precise and we can send the servo to any angle between one and one eighty degrees.
Much like our PIR Sensor, the servo has three pins: the ground, the 5V, and the digital pin.
Unlike the PIR sensor, the servo has female pins.
Connect male to male wires to them.
Use the longest ones you have.
I used a giant spool of wire so the jump scare could happen far away from the doll.
Connect the darkest colored pin to the ground in the negative section of our breadboard.
Connect the middle pin to the positive section.
Connect the final pin to D5.
Program the Motor Declare your motor at the top of the program, establishing its pin as D0.
I named mine maskMotor.
Establish the motor as an output in the setup function.
Servo motors operate between the degrees of zero and one eighty.
Inside our sensor checking if statement, us maskMotor.write to set the motor to go to 180 degrees, delay for two seconds, and then go back to zero degrees.
This is very similar to sweeping a servo, but sweeping is a continuous motion and I think it’s scarier to have the monster leap out, pause, and then retreat.
Compile and flash your code.
Now that everything is programmed, let’s turn this from a standard circuit to a haunted doll.
Haunt the Doll Dolls are creepy by nature.
We’re going to make this one even creepier.
First, derobe the doll.
Paint all of the vinyl portions with a layer of black paint, making sure to get all of the crevices.
While the paint is drying, begin distressing the doll clothes.
Use your fabric dye to start the dying process now.
Once the black paint is dry, paint a coat of white acrylic paint over the doll, giving it a greyish, undead complexion.
Behead the doll and stab out its eyes.
If this doll ever does come to life it will haunt you and then it will haunt me for telling you to do that in the first place.
I accept this fate.
Shove part of your led strip into the doll’s head so its eyes will glow when it is triggered.
Put your halloween mask around the block of styrofoam.
Attach chopsticks to your servo motor and shove them through the bottom of the foam block.
Put the styrofoam mask across from the doll and hide it behind a curtain, box, or other large object.
Attach the circuit to the doll The one thing creepier than a doll is a doll with an evil robot inside of it.
There are many options for attaching the circuit to the doll.
I chose to have my board stuffed inside the doll’s fabric stomach, with the PIR sensor sensor on top of her head.
Now when you walk by the haunting begins.
If you have any questions about this or want to show off your own builds, go to community.particle.io and make a post.
Happy hacking!
Particle: How to build an IOT Haunted Doll with Particle Photon and IFTTT - IoT Development