
In AR/VR Development
Using UE4 to Develop for Oculus Quest 2 |Quick-Start Guide| - read the full article about VR development, AR/VR Development and Augmented & Virtual Reality Solutions from Quinn Kuslich on Qualified.One

Youtube Blogger
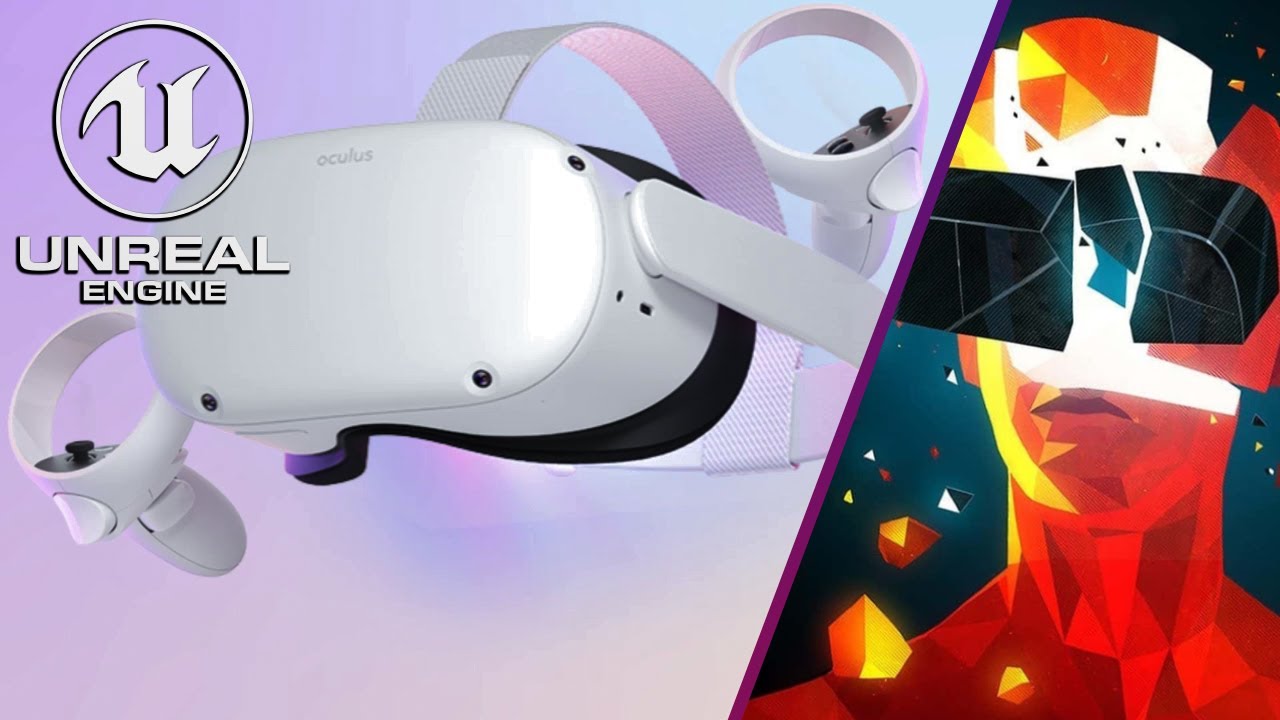
hello everyone this tutorial covers everything you need to know to develop for the oculus quest 2 with unreal engine 4.
now first off this is a pretty straightforward process and as long as you follow my directions you will have a quest ready project by the end of this video id also like to note that this is a pc specific tutorial my macbook is from 2013 and is not capable of running the unreal engine however there are a few people that were able to accomplish this process with their apple computers using my last tutorial on quest development so it is possible for you to do as well i want to start off with the hardware you will need in order to build to the quest for starters youre going to need an oculus quest and a usbc cable there are some speculation on the exact cable needed for a smooth connection to your pc and many will say this process requires a usb 3.0 cable such as the quest link but i have found that the charging cable that comes with the quest works just fine for building to the headset either way you just need to plug the usbc cable into the corresponding port on your pc and plug that into your headset now i want to briefly touch on the software required for this process for this tutorial i will be using a launcher version of unreal 4.25 because it was requested in the comments section of my last quest development tutorial i also chose this because im using 4.25 to create projects for school i also want to mention that i will be using android studio to communicate with the quest this time around but i will cover the installation process during the tutorial section of this video now that we have the hardware and software out of the way lets get started on developing games for the oculus quest with unreal engine in order to develop for the quest we will need to create an oculus developer organization this step is essential to put the quest into developer mode to create an organization we need to navigate to the oculus developer dashboard i have included a link to this site below if for any reason the link doesnt work just search oculus developer in order to log in you will need an active facebook account there is no other way to package your project on the quest to once you are in you will see a bunch of useful documentation and tools to get you started in vr development and i would strongly recommend going through all of it but for this tutorial go to the upper right corner of the screen and select the settings icon on the left of your account image then navigate to the upper left corner of the account manager and click the drop down menu then select create for the purposes of this tutorial i will be putting the name of my indie games company wiki dream studio once we have successfully created an oculus developer organization we can move forward by putting the oculus quest into developer mode open the oculus app on your phone and connect to your headset from here we can navigate to the headset options and click on more settings then developer settings and here we can turn on developer mode in most cases you will need to reboot your headset for the changes to take place you can verify that developer mode is enabled by putting on your headset and going to the settings page where we should see a tab called developer inside that tab we can disable the guardian system if you dont see this tab make sure you reboot your headset and then repeat the process with the quest 2 set up for development we can move on to installing and setting up the android studio application navigate to your browser of choice and type in android studio or go into the description section of this video and click the link that i have provided once you are there click download for windows its smack dab in the middle of the page so you cant miss it and while you are waiting for the download to complete it would be a good idea to subscribe to my channel i have a lot more tutorials centered around vr development coming out in the near future once it is downloaded go ahead and open the android studio installer and start clicking next i like to go with the default settings for this program so unless you have custom install settings just keep clicking next when you get to the install screen go ahead and click install when that green bar reaches its destination click finish and it will automatically open android studio it will ask you if you want to import android studio settings i said no because i do not have any i also chose not to share my data with google after that screen click next and you will be asked to choose your setup instructions for android studio choose custom and then click next you will then select your file location for the gradle which builds your project i left this at default you will then be met with a screen asking you to choose your ui screen i want to personally recommend the dracula theme because aside from being more visually attractive a darker theme is better for your eyes the next screen will allow you to select which components you would like to install i left this at default and clicked next then this next section will ask you to set the specific amount of ram available for the intel execution manager i would strongly recommend going with the default settings and then clicking next the last screen will show you all the necessary sdks apis and other components you need for android development click finish the install process may take a while and i would greatly appreciate it if you use this time to share this video with others once the installation process is complete go ahead and close the android studio application once we have set up android studio we need to download the oculus developer hub application i just want to say that this application is absolutely amazing and i wish we had this during the quest 1 development period the application speeds up the entire development pipeline and gives you direct access to settings inside your headset from your pc so open up your browser of choice and type in oculus developer hub or use the link i added in the description of this video to obtain this wonderful piece of software agree to the terms of the license and select download once the installer has downloaded open it and click next you will then be greeted with a very attractive welcome screen click continue and log in with your facebook account side note the account that you log into on the oculus developer hub has to be the same account you used to log into your headset and the one you used to create your oculus developer organization earlier in this video after that the application will open up and you will be greeted with this screen make sure that you set the organization manager to the organization you created earlier in this tutorial click on the my device tab directly below the home tab and connect it to your headset it should show up on the screen if it doesnt check inside your headset and allow the machine to access your headsets data now we need to configure unreal engine 4 for quest development to do this you need to locate where youve installed your version of the unreal engine on your machine i have mine installed on my external hard drive open up the file explorer and navigate to where you have installed your version of ue4 now click engine then extras then android once youre inside the correct folder locate a file called setup android.bat double click on it and run it you should have a confirmation inside the command prompt that pops up when you press the key then you want to press another key and it will close unreal is now set up for quest development now we have fully set up our machine our headset and unreal engine for quest development so its time to create our project open up the epic games launcher and select the version of unreal you wish to use like i said before im using unreal 4.25 launch the unreal engine and then you will be met with the starter window select games and then select the vr template change your target hardware from desktop to mobile tablet and change your performance settings from maximum quality to scalable 2d or 3d from here you can specify the file path and name of your project i am currently setting up my senior thesis pitch project for a game i am working on called broken rock so i will set the file path and project name accordingly once you have set the proper settings for quest development and given your project a cool name click create project you will then be greeted by the unreal editor navigate to your projects content folder and then open the virtual reality bp folder then select the maps folder double-click on the map titled motion controller map to open it now delete the other two maps inside this folder there is no need to waste precious packaging space on these useless map files now go to the directional light within your unreal scene and change the lighting mode to static your game will have the best performance if you utilize a static lighting setup so its best to do this now rather than later i have also found that the quest packages tend to have blown out lighting so lower your lighting intensity to around 1.15 now click build and wait patiently for the engine to fulfill your request in the upper left corner of the screen press edit and then select plugins inside the plugins window on the left hand side navigate to the virtual reality tab and make sure that the oculus vr plugin is enabled then close the plugins window and navigate to the edit tab again now select project settings inside project settings navigate to the maps and modes tab and ensure that both the editor startup map and the game default map are set to load the motion controller umap now navigate to the target hardware tab and make sure the android box and the windows 32 box are checked then scroll down on the left hand side and select the rendering tab inside set the mobile msaa to 4x msaa then scroll down farther to the vr section and confirm that the mobile hdr is checked then scroll down to platforms and select android scroll up to the very top of the android tab and you should see a red bar look to the right hand side for the configure now button click it and the bar will turn green locate the text box with the android package name and title it to your project make sure you stick to the designated com.yourcompany.projectname formula if you dont the packaging process will fail so for me it is com.wicked.brokenrock now scroll down a little farther and set your minimum sdk version to 23 and your target sdk version to 25 then make sure to check the enable full screen immersive on kitkat and above devices box now scroll down to the advanced apk packaging section and select the box for removing oculus signature files from distribution apk then directly above that you will see a package for oculus mobile devices array click the plus sign and set the tab to oculus quest then we are good to go close the project settings tab and save your project in the upper right corner of the unreal editor then navigate to the launch tab at the top of the screen click the little arrow on the right of the screen and select your quest from the drop down menu if it doesnt appear make sure its plugged in the moment you click on this is the moment the packaging process will begin open up the output log and watch the code run until you see a line of code that starts with starting intent followed by your project name now you can put on your headset navigate to the apps tab of the oculus main menu once the apps tab is open locate a drop down menu at the top right of the window and scroll down until you see a tab called unknown sources click on that and you will see your package project listed inside this is where you will find any content that you have sideloaded onto your quest go ahead and click on your package project and you will be transported into your game so congratulations you have successfully created your first oculus quest game you will notice that you can teleport around and pick up cubes so what if you want to share your game with others go back to the unreal editor and open up your project settings then go to the android tabs under platforms and locate the check box at the top called package game data inside apk now go back to the main unreal editor window and select file package project android and then android astc then youll be asked to set your file destination for your app package i always create a folder directly inside my unreal project folder called packaged builds set your destination and press select folder and the packaging process will begin once the process is completed locate where you set the file to package and inside you will see a folder titled android astc rename this folder to the name of your game followed by a package version for our cases this would be the first test package now you can zip the file and send it to your friends once they receive the file they will need to extract it and then they can download and install side quests onto their pc theyll want to connect their headset to the computer and then open side quests and in the upper right corner theyll see a little box with an arrow in it they want to click that and itll open up the file explorer then they just need to locate the folder you sent them and select the dot apk file inside and it will install to their headset and then they can play the game too this concludes my tutorial for how to create oculus quest games with unreal engine 4.
if you want to know more about using the unreal engine for virtual reality development please subscribe to my channel i have already created multiple tutorials on the topic if you have any questions feel free to reach out to me in the comments section i try to answer any technical problems to the best of my abilities i would also like to take a second to thank my current subscribers for your continued support my channel is still small but has grown so much in the past few months and i plan to keep releasing videos spreading my knowledge of game design and vr development if you want to learn more about game design specifically i have recently started a live stream series which airs every friday on twitch youtube and facebook i have partnered up with other vr developers and we play a new game every week and analyze the title based on gameplay art and development history we also go into detail about how we could turn traditional video games into virtual reality experiences one more way to support me would be to join my patreon i recently launched it and i have two tiers one dollar a month and five dollar a month i plan on investing every last dollar i get for my patrons back into this channel so any support would be appreciated thank you for watching my video and have a lovely week you
Quinn Kuslich: Using UE4 to Develop for Oculus Quest 2 |Quick-Start Guide| - AR/VR Development