
In Mobile App Development
How to make an app for free without coding - read the full article about app development tutorial, Mobile App Development and Native and cross-platform solutions from AppMySite on Qualified.One

Youtube Blogger
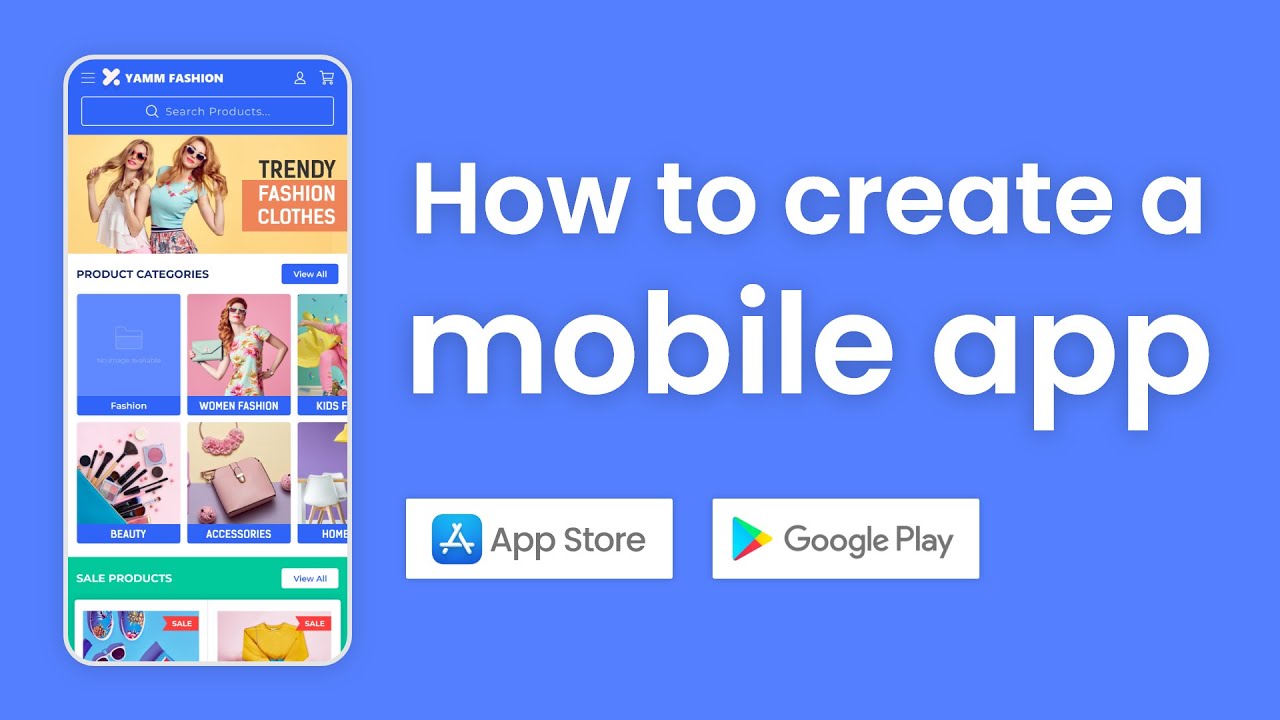
Hi there, and welcome to this AppMySite tutorial. In this video well show you how to convert your WooCommerce website into your very own mobile app in just a few minutes.
Mobile apps are extremely useful for e-commerce because they simplify the shopping experience for smartphone users. Unfortunately hiring a developer to create one is time consuming and expensive. Thats where AppMySite comes in.
Our platform helps you turn any WordPress site into a mobile app via our visual app builder.
Heres how it works.
First youll need to create an AppMySite account and login.
Then click on create new app.
On the next screen include the following details to create your app.
Enter your websites domain name Select WordPress as your CMS platform from the dropdown menu. Choose one of the ecommerce options as the website type And name your new app.
This is the name that will be listed on the app stores.
Then, click on the build app button.
Once youve covered the basics for the type of site youre converting into an app, you can work on designing your app in the appearance module. This module gives you many options for customizing different elements of your mobile app, while also showing you a live preview of your progress first youll design your apps icon this is what users will see on their home screens and tap to find your app. You can use the color picker to choose a background color for your icon that matches your brand colors, and select a font from the drop down menu.
There are also settings that enable you to input your icons text and specify the fonts color and size.
If you would rather use a pre-made design with your brands logo for your apps icon click on the upload button and select the file you wish to use.
Crop it as needed.
Once youre happy with your icon select the next button to start designing your apps launch screen. This is the first thing users will see when they launch your app on their phones. The settings available here are very similar to the options for your icon. You can select a background color and build your logo with font and text options, or use an image for the background of your launch screen.
Add or remove text over the image as you like.
Crop and save it.
And then click on next.
Now youll need to create your login sign up and forgot password screens. Youll find the same settings here as for the icon and launch screen.
However, after youve chosen your background image you can also upload a second image as your logo. It will be placed on top of the background image so make sure it has a transparent background if necessary.
You can use the options in the color theme settings to change the look of your text and buttons and use the arrow buttons to the sides of the preview to scroll through the page and make sure everything looks nice together.
Click on next when youre satisfied to proceed to your apps color theme settings. These options affect your apps theme so to speak.
The changes you make here will impact your blog posts, product pages and other parts of your app that arent the specific screens youve already designed.
Use the color pickers to change the colors of the header and footer bars as well as the font color.
Click on next when youre happy with your selections Here we have your apps dashboard which is what your apps users will see after the launch screen. Its essentially the launchpad of your app and enables users to navigate to the content theyre looking for.
You can see a demo approximation of your existing dashboard to the right where you can click on the arrow buttons to scroll up and down .
Taking a quick look through here will give you an idea of what areas might still need some tweaking.
Then using the blue toggles you can turn the features listed here on or off to add or remove them from your dashboard. If you click on settings next to an items name it will expand more options for that particular feature. If you wish you can also rename these section headers. For instance you can modify the top banner to match your branding by choosing its background color or uploading an image.
You can also customize the icons for the featured product categories by changing their colors sizes shapes and layouts.
If your website has categories youll want to spend some time in this area Depending on how many categories you have youll be able to choose how many or how little of them you can show on the screen.
You can also choose what shape they appear in.
Once youve decided how the images look youll want to ensure youre showing your best categories ahead of the others. You can choose to show only your parent categories, show the ones that have the most of your products, or simply select the ones you want to show. Or you can also sort them as needed .
As usual click on the next button when youre happy with your apps appearance and are ready to move to the next step.
Once youre done creating your apps dashboard youre finally ready to connect it to your WooCommerce site. First youll need to validate your ownership of it. Click on the take me there button and youll be directed to your WordPress dashboard.
Then navigate to Woocommerce -> Settings -> Advanced -> RESTAPI and click on the add key button.
Enter a description such as AppMySite. Select the email address of your websites administrator from the user drop-down menu and set the permissions to both read and write, then select generate API key.
On the next screen copy the consumer key and head back to your AppMySite account.
Paste this code into the WooCommerce consumer key field. Then repeat the process for the consumer secret.
Once both codes are entered, click on the submit button.
Next youll be instructed to install the AppMySite plugin on your WordPress site. This will add the necessary code to your site so that you can connect it to our platform.
You can click on the download now button to access the zip file and upload it to your WordPress site or select take me there to install the plugin from your WordPress dashboard.
Once the installation is complete click on activate. Once youve made sure the plugin is installed return to your AppMySite account and hit the verify button.
Your app is now complete and ready to go. Lets take a look at a few other things you may want to check out before you make it available for users to download.
First click on connectivity troubleshooting in the menu to the left of the preview.
On the next screen select the troubleshoot button to make sure everything is in working order and ready for users.
It may take a moment for your results to load.
Your apps performance is dependent on your website.
If your website is slow youll see a note at the top. We strongly recommend that you upgrade your web hosting to avoid issues within the app.
If everything checks out head to the app settings general tab Here you can make sure all the information you entered at the beginning of the process is correct. Then add a business email address, phone number, and link to your terms and conditions. This information will be made available in your app.
Navigating to the app menu settings enables you to choose which types of content should appear in your apps main menu. You have two options here. If you toggle the first blue switch, you can choose the content you want to link to from your AppMySite menu.
Toggling on the second switch will enable you to select an existing menu youve created in WordPress. Just select the appropriate option by clicking on the check box next to its name.
Make sure to save your changes youll see a confirmation message when your app has been updated. Next you can click on the users tab to specify how users can access your apps content. You can allow them to log in, register or browse as guests.
Theres also an option to prompt users who are not logged in to do so.
If you want to enable the social login feature youll find that here too.
In the products tab there are many settings you might want to explore such as listing specific discount percentages or a generic sale badge, including an additional information section in your product descriptions, displaying an out of stock watermark on relevant product images, using your WooCommerce image settings instead of the original images uploaded to your WordPress media gallery, creating a related product section, enabling users to filter and sort products and enabling product search functionality. You can turn on as many of these settings as you like, just remember to save your changes.
In the checkout tab there are two options for you to consider. The first will bypass your payment method screen and leave it until the last step in the checkout process. The second enables shoppers to update their billing and shipping information during checkout every time they make a purchase.
Next we have the pages tab where you can determine how users can interact with your web pages within your app. You have the option to enable or disable web view layouts within your app.
You can also allow inputs so that customers can fill out forms which is very important for making purchases or asking questions about products. Finally you can choose to enable or disable links within the web pages on your app.
In the social tab you can add links to your brands profiles. These will be incorporated into your app so that users can easily find you on the platforms where youre active.
In the app preview section you can see how your app will appear to users and interact with it as they would. Its a smart idea to come here and take a quick look through the pages to make sure you didnt miss anything during the design stage and that all the content from your WooCommerce site was imported correctly. Once the app loads you should see the login screen you created.
As we mentioned earlier the dashboard is the central hub of your app. It likely includes various featured products and blog posts as well as your apps navigation menu and logo.
Scroll through to check it out and make sure everything looks as you expected.
If you click on product categories -> view all youll see the categories youve included on your WooCommerce site.
Opening a product page should show you the items description, images, price and any other information youve included on your WordPress website.
We also recommend that you test the checkout process to the best of your ability in order to avoid issues post-launch. You can use the arrow button at the top of the screen to navigate back to the dashboard and tap on the hamburger icon in the top left corner to open the navigation menu. This is another way for users to browse your products on their mobile devices.
Test out the drop down menus to make sure they open properly.
Again you can click on any product to view its images price and description.
Tapping on the product image will open a quick view window where customers can get a closer look at your images.
Its also important to take your checkout screen for a test drive to make sure customers can complete their purchases. Once youre happy with your app and have corrected any issues you discovered while previewing it you can download it. Click on the download app tab and select your preferred mobile app operating system by clicking on its corresponding build app button. Youll be asked to confirm that your app is ready to make its debut and then AppMySite will begin building your app. This process might take a few minutes. When your app is ready youll be provided with a bundle id for your reference. To make your app available for both operating systems repeat the process for the other version. Note that youll be asked to provide a team id, distribution certificate, and provisioning profile for ios which you can obtain from your apple developer account.
If you want to send users push notifications youll need an additional certificate for that as well.
When your apps are fully built you can click on the download buttons to save the files to your computer.
You can then submit both versions of your app to the apple and google play stores respectively.
If you need assistance publishing your app you can always refer to our help center.
Finally be sure to check out the app add-ons tab where youll find extensions that enable you to do more with your app. You can white label it find blazing fast web hosting, have your app and app store listing professionally designed, get expert assistance with publishing your app and much more.
Thanks for joining us for this AppMySite tutorial. Head over to appmysite.com to sign up and get started for free and well see you in the next video.
AppMySite: How to make an app for free without coding - Mobile App Development