In Mobile App Development
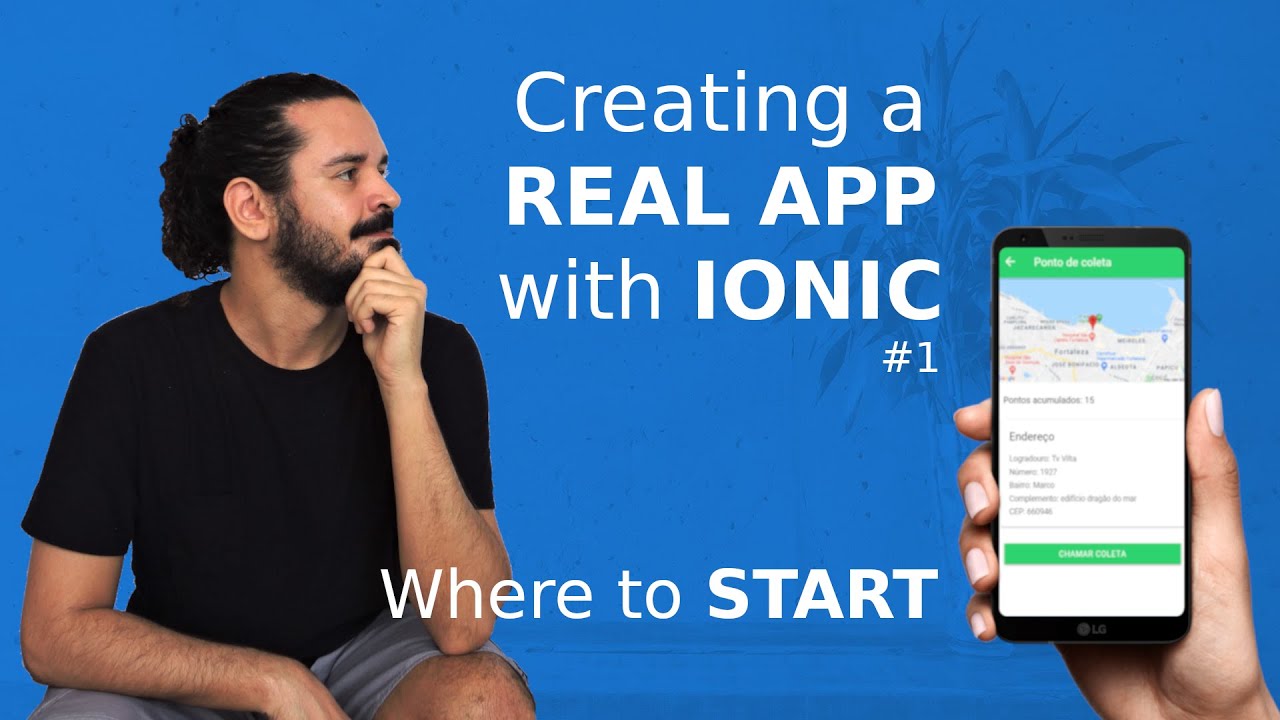
Ionic Tutorial #1 - Overview, installation and creating the project - read the full article about app development tutorial, Mobile App Development and Native and cross-platform solutions from IT with Paulo Alves on Qualified.One

Youtube Blogger

hello everyone my name is paulo alves and on this video im going to start coding with you the front end of the mobile application of my new startup called Reciclica. if you havent seen the previous videos and you dont know what the startup idea is about, you can click somewhere here on top of the screen and then youre gonna be redirected to the video explaining everything. but well, as i already have said the front end of the application is gonna be built using the ionic framework and in this video we are gonna do three things: first being what the idea of the ionic framework is, then we are going to install the ionic framework in our machines and, third, we are going to actually start the construction of the application so lets do it. so, lets get started with a short summary of what ionic is before we actually create the project. alright, the ionic framework is a set of tools that use javascript, css, and html and with these tools we can create user graphical interface, meaning what the user actually sees and does, like button clicks, pages menu bars and etc. so with that we already can see that the ionic framework is made for the front end also with it we can create applications that run on several different platforms, like web, android and ios, i mean, with the ionic framework we can create a website, an android application that you can download from google play or an ios app that you can download from the app store, whats really cool about this is that you can do these three things at the same time and with the same source code, so only one source code for multiple platforms. this is called hybrid development. and, all right, after the summary of the summary on what is the idea of ionic, lets go to the framework web page to take a better look on how it works. so, here is the home page, right, the landing page of ionic which has a lot of information about how the framework actually works, but for this video we are interested in the installation part. here in documentation, installation subsection. this page here has all the instructions that we need to install ionic. there are two steps basically: first install node.js and then actually do the installation of the ionic framework. so lets start from the beginning right. first i have to install the node.js on my machine, so ill go to the node.js webpage. javascript is a language that usually runs in the browser, right? but with node.js we actually can run it outside of the browser. in case you dont have node.js installed just come to the webpage, download the version recommended for most of users and do the normal installation process, same thing as you do to install any other application on your computer. then, to check that everything has been correctly installed, go here on the command line and type node -v. this -v means version. so here we can see the version, which means that the node.js is installed. now we can come back to the ionic installation page, so we already did this very simple first step, which is to install node.js. now what we have to do is to install the ionic cli. cli stands for command line interface. after installing the command line interface we will be able to execute the ionic commands, like to create a new project, the command to create a new page, to create a new service and etc. at the previous step when we installed the node.js we also installed something called npm, which stands for node package manager. with this npm well be able to install node.js packages, so what we are going to do now is to use the node package manager to install globally, this -g means that it will be installed on our entire computer not only in the directory i am in right now, the ionic command line interface. so all right lets run this on the command line and also as i already have node.js installed this will run without any problems. i guess it will do for you too. so all right after only these two steps the installation of the tools necessary for me to start programming with ionic have already been made. ill close here the command line and ill open the visual studio code, which is the IDE that i use to program. ide for those who dont know means integrated development environment. its like a program that helps with the creation of other programs, i mean, which makes it easier for us to work with programming lets say. okay, what we are going to do now finally is to create our project using the ionic framework. im here in the projects parent folder, called reciclica and, in order to create the project, i will use exactly the cli that we just installed on our machines. then to create the ionic project i need to type here ionic start, to start, the name of the project, which is reciclica-app, and the project template that i want to create. ionic gives us three templates that we can choose from which are this tree here: the blank template, the tabs template and the side menu template. i prefer the side menu template for my app so ill use it. so lets right side menu. after typing enter the ionic cli will ask me which framework that i want to use i mean what language i am going to use to develop my mobile application. well. like i told you on the previous video, on the first video, actually, showing the idea of the startup, i am more familiar with angular, so ill choose angular, but i also could choose between react or view for now. so lets choose angular now the ionic cli asks me if i want to integrate the project with capacitor; ill simply answer no for now and then type enter again here you can see that the libraries necessary for the project to work are being downloaded and a few seconds later when finally the project is created the ionic cli asks me if i want to create an account on ionic platform. ill just answer no and lets move on. here you can see the projects folder, reciclica-app, with all the folders and files needed to run the application. here on the command line there are some instructions also for running the project. first ill go to the projects folder because now im in the parent folder the reciclica folder, but the project is actually in the reciclica-app folder. after this ill type the command ionic serve. after a few seconds it shows here the url where ill be able to take a look at my application locally. so im going to copy the url, im going to go to the browser and im going to open now a new tab and then open our application. you can see that we have a menu here, the main body and the header of the application. its working here in the browser, i mean, its running on the web environment. to make it work on the mobile environment, i mean on android or ios with an application that you install from the application store, i will have to do a few more steps, but this isnt the goal of this video right. but if i want to see how this will look in the mobile environment i can just press the f12 key and then after clicking here on the cell phone icon we can see how it looks on the mobile environment all right. it also has the side menu here that i can open and close, i can drag the side menu to the side and i can do a lot of things that are similar to mobile applications. this is the android view by the way. i can also show you the ios view and in order to do that i will have to update the page by pressing the f5 key. you can see that the app has some modifications, like the menu icon now is above the title and the icons on the side menu are now different and so on. so we can already see that the ionic adapts itself to the type of device you are using. so pretty cool right. now we have started the project but the changes to the code for it to become the way i want, i mean the way my application should actually work, those changes will be done on the next videos. and thats it for today it was just a pretty simple step-by-step summary on the ionic framework. all the links you need for this video are going to be here on the description of the video, in case i didnt forget to put them there. and the next video is gonna be like the second part of this video where im gonna do two things: first i will show you all the directories and files that were created in this project right here that we just created and then we are gonna push this code to a public repository on github, meaning that everyone can see it so youll be able to download the project, to analyze it, make comments make modifications and so on. so just dont forget to subscribe to the channel and ill see you on the next video
IT with Paulo Alves: Ionic Tutorial #1 - Overview, installation and creating the project - Mobile App Development

