In Web design
Create a UI into a 3D Perspective in Figma - read the full article about Figma, Web design and from DesignCode on Qualified.One

Youtube Blogger

Hi, its Sourany from Design+Code.
welcome to my tutorial.
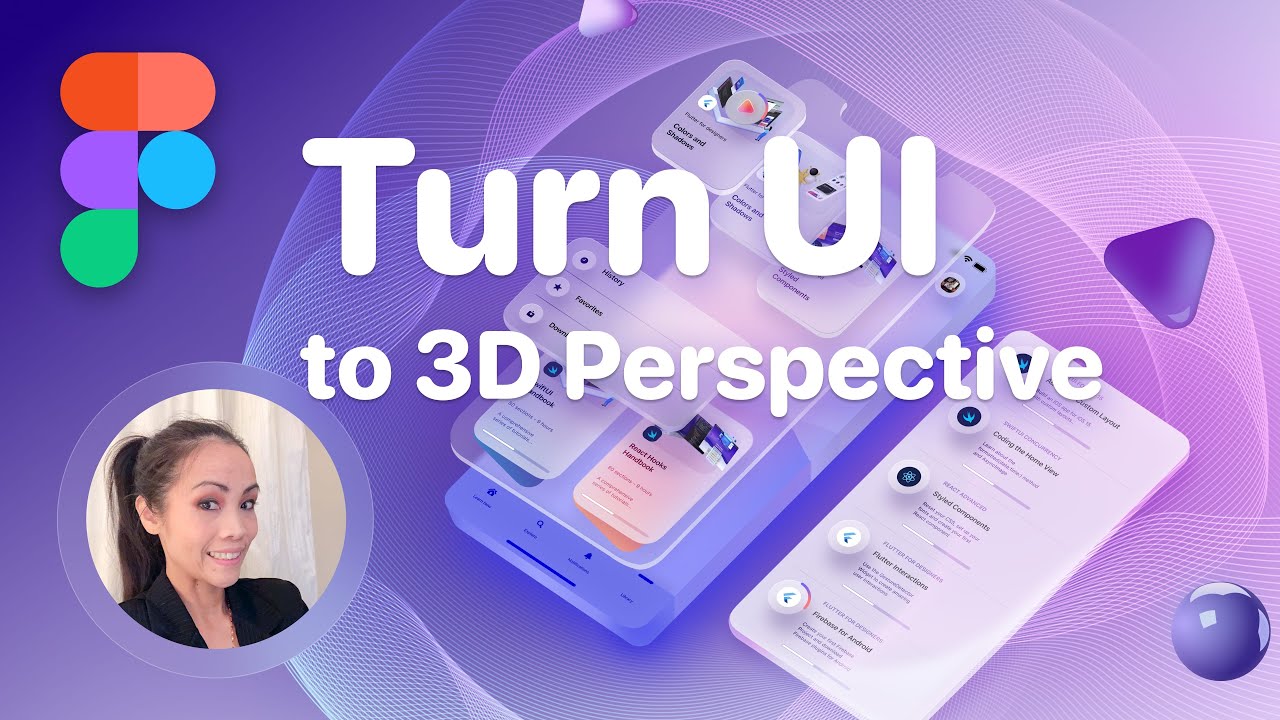
So today we will learn how to create this.
Too.
This.
I will show you how to turn the UI.
To 3D perspective.
Dont worry.
Its going to be easy.
So lets get started.
First of all, you would need this plugin.
Its named.
SkewDat from unfold.co.
This is going to help you to skew your design.
To make like a 3D perspective.
So just go to the community.
Plugin Search SkewDat.
There you go.
So install.
Boom, your plugin is there.
I actually always use this plugin for most of my design.
To make like a 3D effect like this.
With SkewDat you can skew anything you want at once.
And your design with stay perspective.
So lets create a new one.
What do you need to do is group everything together because we gonna skew that in the same time.
So when your UI, your design.
Whatever is ready.
So group together.
Command+G group.
Right.
Click.
plugin.
And then SkewDat.
Change the position.
for my design, I use a minus 44.
Like this.
Horizontal skew.
When they move from horizontally left to right.
And for the vertical skew.
I go at 32 is fine.
Like that.
So when you satisfy with your position, Then applied.
Boom.
Its skewed next step youre going to do.
Were going to create this shape to make a body.
To make like a 3D effect.
were going to duplicate this shape.
But first of all, This UI is made inside.
Of the frame and the frame.
The corner radius is at 30.
So were going to put at zero first.
So we can draw this rectangle.
So P.
For pen tool, or you can just go in in the top for the.
Tool. Penn.
So were going to.
Recreate this rectangle.
you dont need to make these very perfect.
Because . We gonna edit after.
So just.
Draw.
The rectangle like this.
So put any color you want for now.
And then, take off this stroke.
We dont need that.
When you done.
Click done.
I can make sure this layer is.
At the bottom.
On this. card.
because.
The edge should be In the bottom.
Of the card when you put it down.
We see this body you can name this later.
body or edge, whatever you want.
select the two layer together.
And put the corner radius at at 30 degree.
Boom It changed in the same time.
Now.
You need to flatten first.
So right-click flatten this layer because if you dont flatten the shape will stay rectangle.
its not that I want.
So flatten.
When you edit the shape.
See Its round now.
Next were going to connect the body.
To this card so enter.
Were going to edit.
All the corner.
So Im gonna put the corner.
at the top a little bit like that.
Like iPhone, you know? Same thing.
Well, this one.
So we can do manually.
Bring everything on.
the top corner.
Like this.
And done it should be like this.
The body is created so we gonna do the same thing for this card lets do the same thing for the rest of the UI element here.
So this one.
there you go.
So when youre done.
Now lets create a gradient color.
here on The body.
We can put any color you want, but for my design, For this card, I put a Different color right-click the body layer.
click color on fill and instead of solid I choose linear.
Linear is the most common and wisely.
Used gradient out there.
In our linear gradient.
The color of the gradient blend from start color to e nd color in a straight line like this.
So you can add.
many.
color you want.
for this example, I tried to follow the same background.
So the first color should be the same.
As this one.
So take the dropper.
Use this color.
Add more gradient.
do the same thing.
add this second color.
I would do the same thing.
I try to follow this line.
I gonna continue.
For the rest of the card The final look like this for the linear color.
Now.
Lets create something more.
Beautiful more elegant.
So I gonna pick up all of this.
Card.
I gonna take off from this frame.
Okay.
select Everything.
And put outside.
From this.
Frame.
Like this.
now you can play a little bit.
With.
Them.
Make like its floating so this one, I got to make more.
from the top.
But make sure the layer.
is in order.
So this one I want in top of this one on.
Number three.
So lets make on this top so follow the number.
Something like this.
Now.
Is really look like.
The card is floating.
Lets make this one a little bit.
Like that.
Okay.
Lets hide the rest.
Now lets create this screen shape with the glass.
Effect.
So how I did that.
I take.
A front mock-up from any devices.
And take only the screen.
Let me detachpatch instance first keep only this screen you can delete.
Everything.
Keep only the screen.
Ungrouped, this one.
So were going to do the same step for the SkewDat.
Bring it here.
Right.
Click.
Plugin SkewDat.
It should be the same.
Number.
As the preview.
UI So its minus 44.
And for the vertical skew 32.
Apply It should be like this.
Now.
Im going to change the color.
First of all, I think out the screen.
I got to change only this screen shape and I put white.
40 percent opacity.
At background blur on effect lets say 40.
Now.
add the body of this screen shape.
So you can delete all of this.
Okay. ungroup, delete keep this screen shape so you can do.
duplicate.
Command+D take the bottom lay er.
Make a body like this.
You can change the color . So Im going to red and then.
group together.
When the screen glass is done, lets put together to make the design more.
Nice.
So I gonna bring this screen glass.
at the top.
Of the card explore.
Something like this.
Lets play a little bit.
There you go, your design is done.
So thats it for today.
I hope you enjoyed this video and dont forget to subscribe, comment and give me a big thumbs up.
see you on the next video.
Bye guys.
DesignCode: Create a UI into a 3D Perspective in Figma - Web design

