
In Video production
BEST editing app for GOPRO videos | CapCut - read the full article about video editing apps, Video production and In motion from Jake Rich on Qualified.One

Youtube Blogger
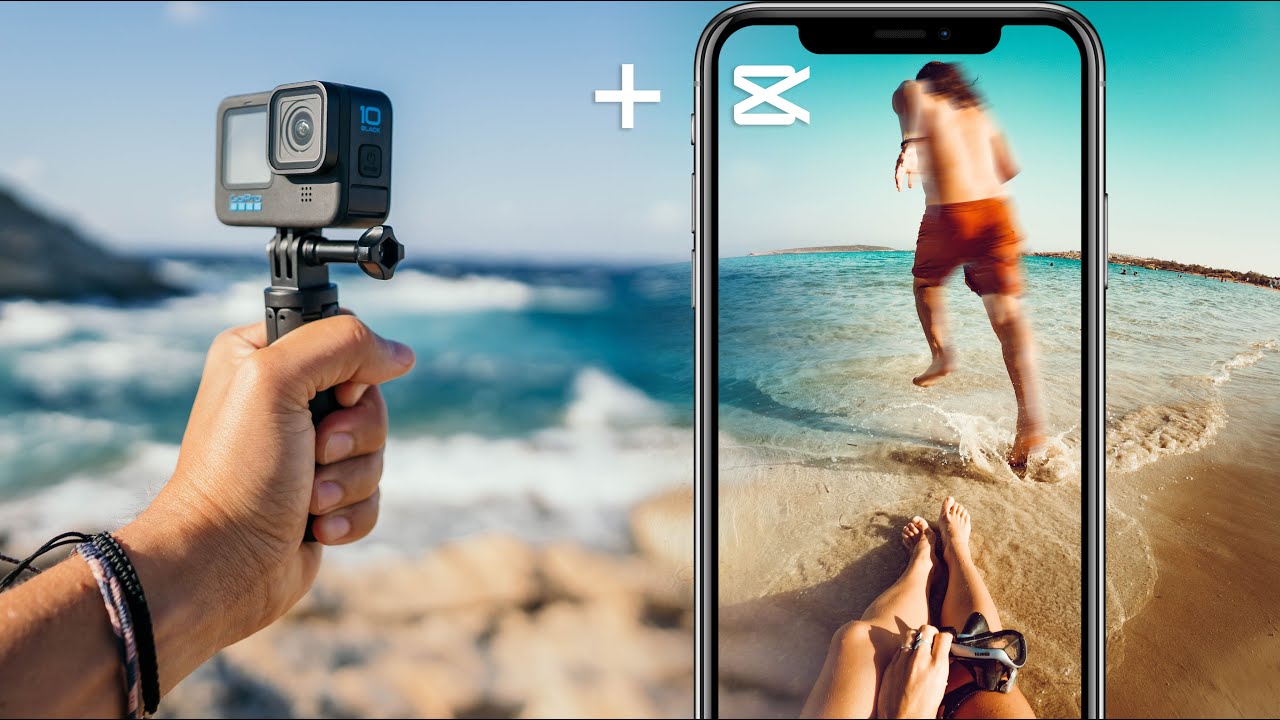
(feel good music) - Have you been super frustrated with editing GoPro videos in GoPro Quik, and you just cant seem to fine tune the edit the way you like it, or you cant seem to stack the clips and arrange the clips the way that you like? Well, in todays video, I wanted to share with you an awesome video editing app, and what I think is the best video editing app for editing your GoPro videos on your smartphone.
Lets get stuck into it.
(feel good music) Now, I dont want to create the illusion that the videos that you see on social media or on this YouTube channel are entirely created on smartphones, theyre not.
But, there are some incredibly powerful things that can be created on your smartphone, especially for beginners who are looking to upload content to Instagram Reels or to TikTok.
In todays tutorial, Im gonna run you through how you can use sound effects and music in your edits, how you can speed ramp, how you can color grade, and even how you can go about creating some fun animation, all in the palm of your hand, using the CapCut app.
Now, these are things, as a video editor, that I like to do pretty much every time Im making video edits.
And yes, todays video is sponsored by the amazing team at CapCut.
So, thank you to them for sponsoring todays video.
But, I will mention that I was using CapCut months before they reached out.
(feel good music) All right, so once youve downloaded CapCut, did I also mention that its completely free? No subscription model here.
Start to select the video clips youd like to edit.
Now, obviously, if youre using your GoPro clips, youll first have to save these highlights or whole clips onto your phone from the GoPro Quik app.
The CapCut makes critical editing selections super simple by allowing you to fine tune your selects before importing them into your project.
So, simply tap on the selected clip during the imported process and trim the clip to only select the golden moments.
Chew the fat here, and only select the highlights, as this will make your action camera edits super engaging.
Once youve imported all of your selected clips, you can simply adjust and rearrange them to suit your desired flow.
Using two fingers on your screen, you can pinch and pull to zoom in or zoom out, allowing you to make more accurate and precision tweaks to your clips.
Tap and hold on the clip to bring up the rearrange window, and then slide the clip along the timeline to create the perfect stack.
Rearranging your clips and creating flow in your edits is best done with music, and CapCut has an amazing library of royalty free stock music, which you can drop straight into your timeline.
Or, if youre like me, and youre already subscribed to a stock music library, like Epidemic Sound, you can simply import any track and use that in your edit.
(feel good music) One of the reasons I love reversing video clips is to create endless loops for Instagram Reels.
Now, once youve imported your GoPro clip, if youve captured it in 16x9, you may want to resize it to a 9x16 aspect ratio.
Now, this is super simple to do in CapCut.
You just scroll along the bottom icon tab and click on "Format." This will bring up a range of aspect ratios.
Select 9x16, and then proceed to stretch your clip to accurately fit the selected aspect ratio.
Now, once youre happy with the aspect ratio and your clip is highlighted, you can make a copy of the clip by scrolling along the icon tab until you reach "Copy." Lastly, simply tap on the clip you wish to reverse, scroll along the icon tab until you reach "Reverse." And voila, youve now reversed a clip and created an endless loop, all set for Instagram Reels.
If you guys are enjoying todays video, feel free to punch that thumbs up button and subscribe to this YouTube channel.
And like I said before, if you wanna check out any more video edits or how to use the CapCut 3D zoom effect, you can click up here on the cards to check out some more videos.
Back to the phone.
(feel good music) There are two ways that you can go about speed ramping in the CapCut app.
The first of which is to simply tap on the clip and split it at the exact moment youd like to slow down or speed up.
Now, on the highlighted clip, tap on the "speed" icon in the icon tab, and then tap on "normal" to bring up the adjustment window.
Im obviously choosing to slow it down, so Im gonna take it to 0.5 times, or 50%.
Now, playing back the clip, it will now jump down from 100% to 50%.
The alternative, and in my opinion, the better option for speed ramping in CapCut is to use the custom speed ramping curve.
You can access this by simply clicking on the "Speed" icon again, but this time choosing "Curve." I prefer to customize this by clicking to "Edit" the custom curve, rather than using the preset ones that you can see on the right.
So, in the custom curve editor, you can create a ramp that slows down your clip from 100 to 50, and then back up.
So, this is a great way to create smooth, flowing clips.
But, keep in mind, the clips must be shot at at least 50 frames a second to create smooth, slow motion.
(feel good music) Color grading has been made super simple with preset filters in CapCut.
Now, to access these, tap on your clip and scroll along the bottom icon tab until you reach the "Filters" icon.
Now, tapping on the "Filters" icon will bring up a range of different color tones to apply to your clip.
You can preview each of these by tapping on them, and also adjust the amount of color applied by sliding the top "Apply to all" slider, found above the preset.
Once youre happy with the color tone, you can also make further adjustments to your clips by tapping on the "Adjustment" tab.
Now, this will bring up pretty much all of the most commonly seen adjustment features found in most editing apps.
And for this particular clip, Im going to adjust the contrast and saturation to just crush the dynamic range a little bit more and give the clip a little bit more pop.
(feel good music) Creating video effects in CapCut is one of the apps biggest strengths.
To add effects to your videos, if the clip is highlighted, click the back arrow in the icon tab and navigate your way to effects.
This will provide you with two options: video and body effects.
Feel free to explore all of these template effects CapCut has to offer.
But, today, I wanted to show you an effect called background streaks.
So, click on the body effects and scroll up to find the template title "Background Streaks," which creates awesome motion blur to your videos.
You can adjust the effect to only be applied to a certain part of the clip, or if youre like me, you can apply it to the entire clip.
Now, lastly, using sound effects to transition your clips can be super effective.
To do so, click on the "Audio" tab, and rather than clicking "Sounds," this time, click "Effects." This will bring up an incredible library of sound effects to allow your inner sound designer to go wild.
Now, Im going to head to the "Transitions" tab at the top and choose the swoosh with echo sound effect to add to my project.
So, tap and hold on the sound effect to position it where you want.
Im gonna sit it perfectly between these two clips to smoothen the transition between them.
Now, if the sound effect is too loud, you can also adjust the volume of it by clicking on the "Volume" icon in the icon tab and lowering it to your desired volume.
Lastly, if youre not a fan of the fall of your natural audio that was recorded in the clip, simply tap on the clip, navigate to the "Extract Audio" tab, and separate it.
From here, you are now able to either delete the sound altogether or just lower the volume to your desired amount.
All of the tips and technique that we covered in todays video have been chaptered in the bottom.
So, if you wanna come back to this video at any time and rewatch it, save it for later, I encourage you to do so.
Guys, thank you so much for checking out todays video.
And if you have enjoyed it, or learned something, punch the thumbs up button, share it with someone else whos just got their GoPro and interested in creating some more GoPro edits.
And if you do want to share some of your edits with me, Id love to see them on social media.
Tag me in them and Ill drop you a comment.
See you guys in the next video.
JR.
Peace! (feel good music)
Jake Rich: BEST editing app for GOPRO videos | CapCut - Video production